In this blog post let’s looks at creating a Storage Spaces Direct Hyper Converged solution using three virtual machines. For production deployment, it is recommended to use physical servers instead of virtual machines. I will be using Windows Server 2016 Technical Preview 5 version which was just released few days back for this blog post.
Before I move any further, I would like to highlight some of the key features introduced part of Windows Server 2016 Technical Preview 5
– Automatic Configuration
– Storage Spaces Direct Management Using Virtual Machine Manager
– Chassis and Rack Fault Tolerance
– Deployment with 3 Servers
– Deployments with NVMe,SSD and HDD
Overview of Storage Spaces Direct
Storage Spaces Direct enables building highly available and scalable storage systems using local storage. We can utilize storage locally attached to individual nodes such as HDD, SSD and NVMe drives for creating Storage Spaces Direct volumes.
There are two deployment scenarios with Storage Spaces Direct. Hyper-Converged scenarios and disaggregated scenario. In this post, I will be demonstrating Hyper-Converged scenario.
In this blog post let’s look at how we can create, Storage Spaces Direct with 3 Virtual Machines with mirrored resiliency. This deployment is resilient for a single node failure.
Step 01 – Create 3 Virtual Machines with 2 Networks and 3 Hard Drives (1 for OS and the other two for Storage Spaces Direct). Add all 3 Virtual Machines to a domain.
Step 02- is for us to go and install Failover Clustering features and File Services. You can do so by using PowerShell command below.
Install-WindowsFeature –Name File-Services, Failover-Clustering –IncludeManagementTools -ComputerName $VMname
Step 03 – Before go ahead and create the cluster, let’s go ahead and validate our cluster configuration.
Test-Cluster –Node ‘ws164cls1′,’ws164cls2′,’ws164cls3’ –Include “Storage Spaces Direct”,Inventory,Network,”System Configuration”
Validate Test comes back with a failure for Disk Configuration. This is due to Technical Preview 5 not recognizing Virtual Hard Drive storage media type. This will be fixed in the next release, but for now we need to proceed ahead and skip some of the validation for this to work within Technical Preview 5.
Step 04 – Let’s go ahead and create a new cluster without any storage.
New-Cluster –Name ‘ws164cluster1’ –Node ‘ws164cls1′,’ws164cls2′,’ws164cls3’ –NoStorage
Step 05 – I will configure Cloud Witness for this cluster
Set-ClusterQuorum –CloudWitness –AccountName <AccountName> -AccessKey <AccesKey>
Step 06 – Now that we have created a cluster, next option is for us to go ahead and enable Storage Spaces Direct. Please note that we cannot use the commends we used part of Technical Preview 04 since the enable option will fail as it cannot detect required storage disks. This is due to Technical Preview 5 not recognizing Virtual Hard drives and due to this reason we need to skip eligibility checks.
Enable-ClusterS2D -CacheMode Disabled -AutoConfig:0 -SkipEligibilityChecks -Confirm
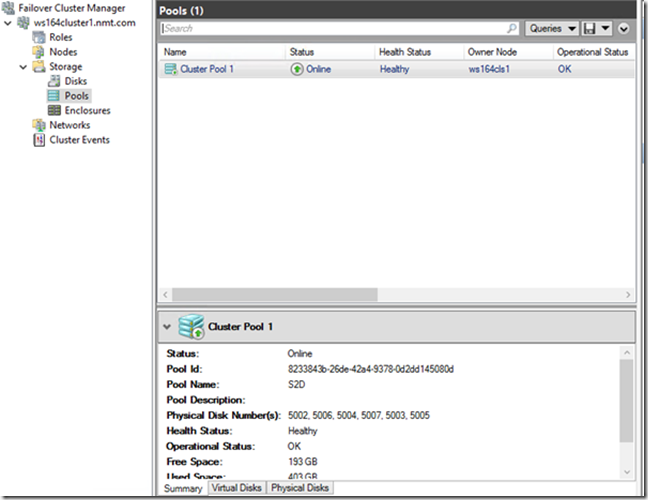
Step 07 – Once we have enabled Storage Spaces Direct, we need to go ahead and manually create Storage Pool. If we were using Physical Server, we could use auto configuration but this will not work at the moment for Virtual Machines.
New-StoragePool -StorageSubSystemFriendlyName *Cluster* -FriendlyName S2D -ProvisioningTypeDefault Fixed -PhysicalDisk (Get-PhysicalDisk | ? CanPool -eq $true)
Step 08 – Create Storage Tiers
$pool = Get-StoragePool S2D
New-StorageTier -StoragePoolUniqueID ($pool).UniqueID -FriendlyName Performance -MediaType HDD -ResiliencySettingName Mirror
New-StorageTier -StoragePoolUniqueID ($pool).UniqueID -FriendlyName Capacity -MediaType HDD -ResiliencySettingName Parity
Step 09 – Create a Volume
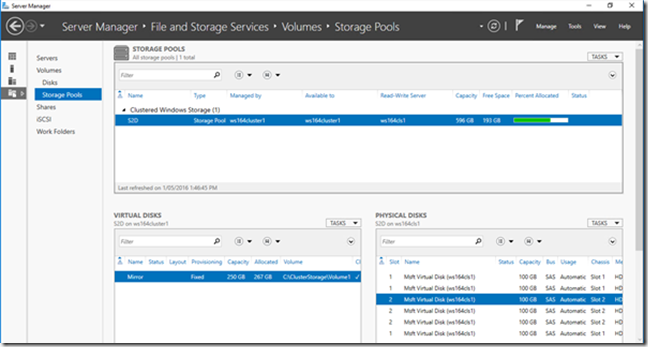
New-Volume -StoragePool $pool -FriendlyName Mirror -FileSystem CSVFS_REFS -StorageTierFriendlyNames ‘Performance’,’Capacity’ -StorageTierSizes 50GB, 200GB
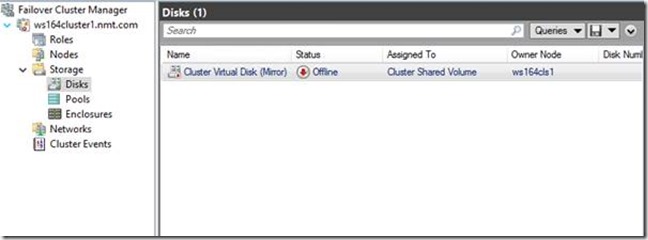
Within Cluster Manager we can now see that we have a new CSV disk available, which can be used by Hyper-V for hosting Virtual Machines.
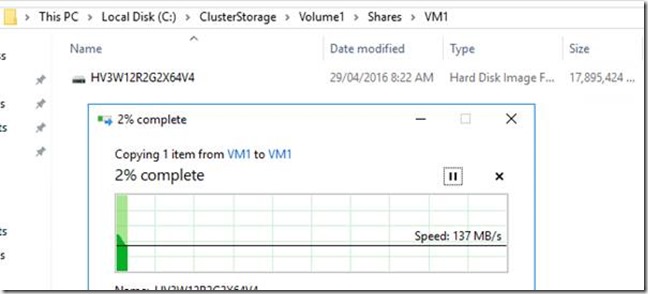
As mentioned before, if a single node fails, we still have access to storage
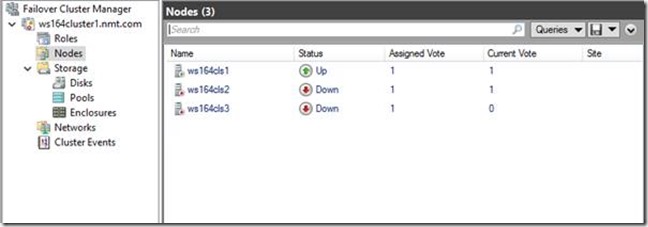
Turnoff WS164CLS3
CSV disk is still online and we can see that it has moved in to WS165CLS2. We can still do read/write
However, if we have two node failures, then we will lose access to storage
References for more information
Technet-Storage Spaces Direct in Windows Server 2016 Technical Preview
Technet-Storage Spaces Direct Hardware Requirements
Hyper-converged solution using Storage Spaces Direct in Windows Server 2016


